Money Shooting Tool.

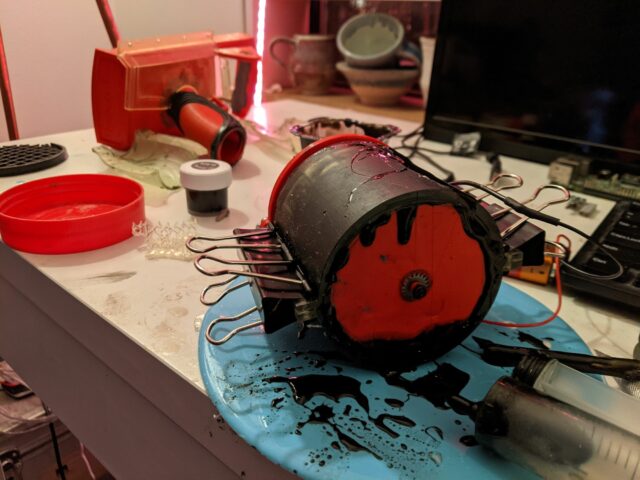
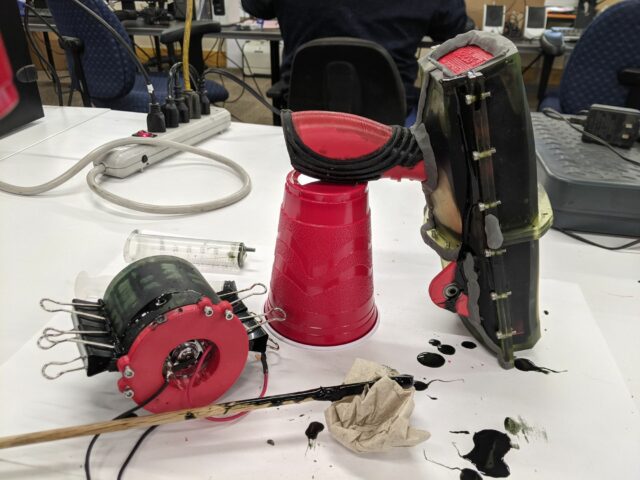
Are you a boat or home owner?  Do you wish paying your bills was more fun?  Do you have stacks of cash sitting around just taking up space?  Well this is the project for you!  Over the next month we will be designing version 2 of the Rain Maker.  It’s a tool that you load with cash and then launch at about the speed most of my project eat cash lately.  Version 2 you ask?  That’s right most of the longer projects we model in class take me several attempts to get right.  Here is a link so you can see it in action. 

https://www.instagram.com/p/CYP6pMlIizE/

The first draft lets me work out the ideas and see if I can get a working prototype.   In this case I knew I wanted to try over molding like our favorite tool company here in Milwaukee and I was not sure if my cash accelerator device would work.  About a hundred hours of printing later I can tell you it does and I learned a lot of do’s and don’t when over molding on 3d printed parts.  I do really like the feel of the urathane rubber in my hand and it is so much fun to see money shooting our the front of the tool.  This is going to be a fun one so join us Mondays @ 7pm or watch the series on YouTube.


Time Delay Relay

Time Delay Relay

I’m working on a project that requires two power strips to be turned on in a sequence. The first power strip powers 6 HDMI displays, and the second one powers 6 computers. The displays have to be on before the computers so they sync properly and get the correct resolution. Since I can’t rely on a person to do this properly, automation is the answer.

My first thought was to use something like a PowerSwitch Tail with a microcontroller to trigger it. (There’s also a cheaper kit version available.) The issue with this solution is that I’d need a microcontroller, and a power supply for the microcontroller, which are more parts, and more points of failure, and take up more space. I also considered using a cheap relay module, but ultimately I was overly complicating the whole thing. Also, I want this to be reliable, and sticking a 5v power supply, a microcontroller, and a relay in a box for three years seemed a little risky.

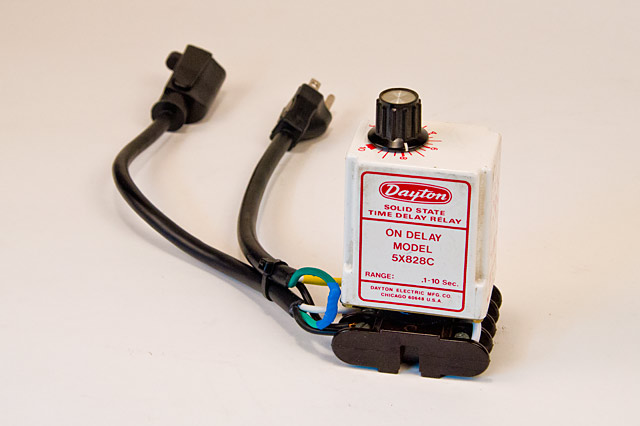
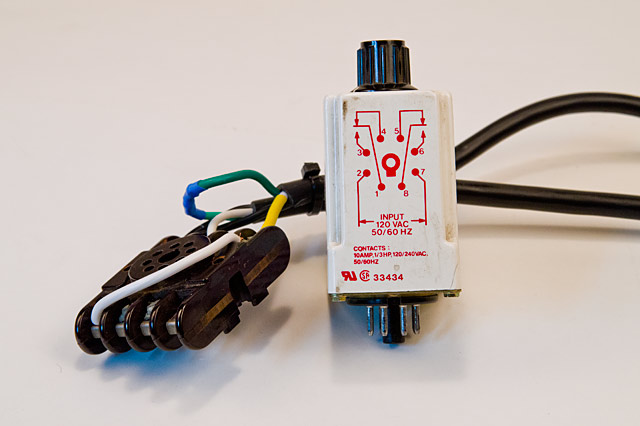
What I really needed was a “Time Delay Relay” which is a device that can get power, wait X number of seconds, and then power on another thing. There’s a whole bunch of them you can just buy! Time Delay Relays are not cheap though… This one is under $40, but you’ll probably also want the socket, which puts you closer to $50.

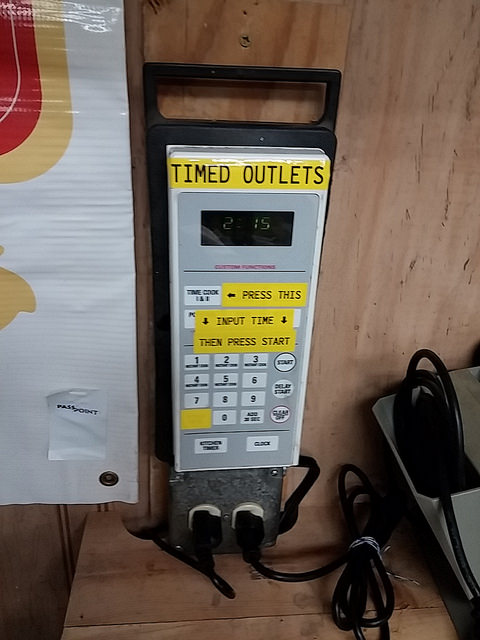
Luckily, Milwaukee Makerspace is filled with all sorts of old industrial “junk” and we have a bunch of these sitting on a shelf! Brant (you know, the guy who made an Auto-Off Timed Outlets from an old microwave control panel) helped me find one and get it wired up last week. It works great!

I used a $3 extension cord to provide an easy way to plug it into the first power strip and plug the second power strip into it. There’s a dial that lets you set the delay up to 10 seconds, which is more than enough for my needs.

Time Delay Relay

If I’ve learned anything from this project it’s that even though you think you might have a good solution to a problem, it’s still worth asking others (at the space or on the mailing list) because you may get a better solution, and may even get the parts you need.

Auto-Off Timed Outlets

If you’re like me, you’ve left a soldering iron plugged in once or twice.  Hopefully you’re also lucky like me and it’s never started a fire.   Occasionally I’ll grab something off our Hack Rack and take it apart.  A) It’s fun and B) it helps cut down on the ever-growing pile of appliances in the East Room.  Recently I focused my efforts on a microwave oven.  During my salvage operation I managed to extract one plastic fan, two thermal cutout switches, a transformer, the magnetron, a huge capacitor, and the controls.  I soon realized that what I had in front of me was a digital timer wired to a normally open relay.  I couldn’t immediately think of something to do with it, but it seemed too good to toss or disassemble further.  About a week later I decided to wire it to a pair of 120-volt receptacles.  Voila.  Any appliance with a standard plug can be set to run from 00:01 to 99:99 before powering off.  Just press “TIME COOK” then enter the time in minutes and seconds, then start.  The relay closes the circuit and the outlets are energized.  When the timer runs out, a piezo buzzes and the outlets shut off.  The relay on the microwave’s circuit board is 120-250 volt at 16 amps, so I’m fairly comfortable it will handle one or two 40-watt soldering irons.

22087892173_9c92542d90_z


$5 Upcycled Desk Clock

Last summer I came across a collection of car parts at a garage sale; instrument clusters, lights, gauges, and some digital clock displays.  For $5, I became the proud owner of a JECO Japan, vacuum fluorescent clock display.  The plastic housing held all the clock electronics, membrane buttons for setting the time, and a four-pin connector.  After powering it up, I realized one of the pins could be used to dim the display, which is a pretty nice feature to have.

I’ve worked on it off and on for a few months, but finally decided to finish it this weekend.  On Saturday, I tweaked some dimensions and laser-cut the final enclosure.  I wasn’t happy with the button holes and text I had on the front of the first iteration, so I got rid of them for the final.  You can adjust the time by slipping a jeweler’s screwdriver or a paper clip through a gap in between the plexiglass sides and pressing the buttons to add hours or minutes. 

I added a small single-pole, double-throw toggle to switch between bright and dim, then soldered the connections before closing it up.  The whole thing is clamped together by a single #10-32 machine screw and a wingnut.  The final result doesn’t look half bad.